A Dutch artist, M.C. Escher created several tessellations. Escher used images of lizards, birds, and Pegasus to create intricate and complex tessellations. To view some of Escher’s artwork click here.
Below are instructions to create your own tessellation.
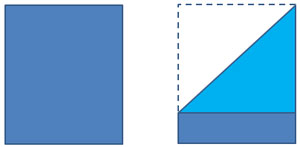
Step 1: Create a square with one sheet of paper. Fold the upper left hand corner to the right side of the paper, lining up the top side to the right side of the paper.
Step 2: Cut off the bottom rectangle.
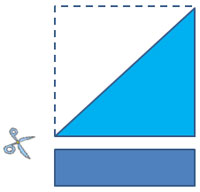
Step 3: Unfold the paper – a square.

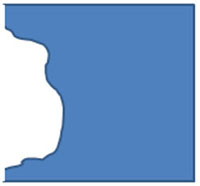
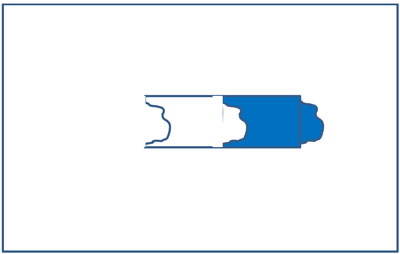
Step 4: Cut out a “chunk” from one side of the square. The chunk can be any shape.
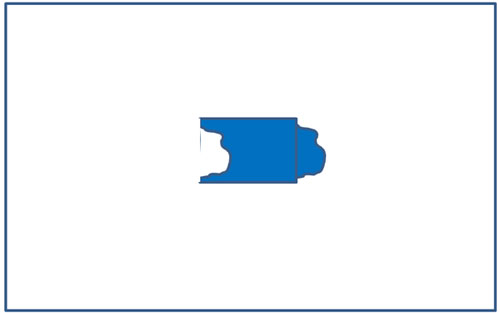
Step 3: Translate the chunk cut out to the other side of the square (make sure to translate it parallel to one of the sides). Tape the chunk in place on the opposite side of the square. For every piece that is cut out, a corresponding piece must be added onto the opposite side, maintaining the area of the square.

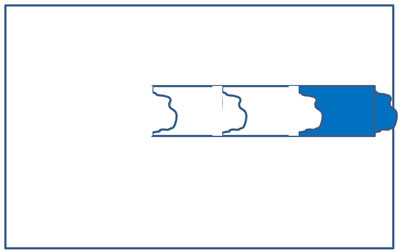
Step 4: Trace the new shape in the middle of the second piece of paper.
Step 5: Move the piece to the right of the traced piece, matching the pieces, trace the piece again.
Step 6: Continue moving the piece to the right tracing the piece each time until the piece overlaps the edge of the paper.
Step 7: Move the piece to the right of the first trace piece tracing the pieces until the edge of the paper is met.
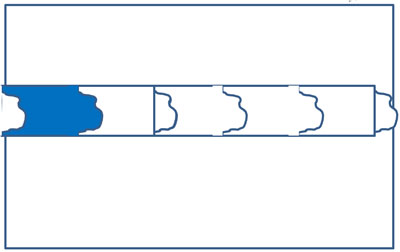
The pieces are being tessellated.
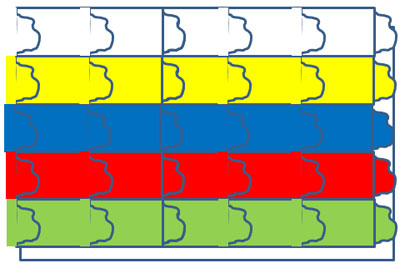
Step 8: The pieces are being tessellated. Continue tracing the pieces in strips across the page until the page is filled. Decorate as desired.
Additional chunks can be cut out from the top or bottom side of the square in addition to the left or right side. Repeat the process.